
How to add a custom connector in Claude
How to add custom connector in Claude: open Customize, then Connectors, click Add custom connector, enter a name and the remote MCP server URL, finish the OAuth sign-in, and turn the connector on in a chat. A Free account can add one.
What you need before you start
- A Claude account. Custom connectors work on the Free, Pro, Max, Team and Enterprise plans. A Free account can add one.
- The connector’s server URL. It is the HTTPS address where the service accepts MCP requests. Ours is below.
- An account with the service. For one-by.one that is a one-by.one account, which you create in the iPhone app (on the App Store).
https://mcp.one-by.one/mcpOne more fact explains most failures later. Claude connects to the server from Anthropic’s cloud, not from your device, and that includes the mobile apps. So the server has to be reachable from the public internet.
How to add a custom connector in Claude on the web
These steps are for the Free, Pro and Max plans. Anthropic notes that the dialog varies by organization: some show a name, a URL and Advanced settings on one screen, others take two steps.
- Go to Customize, then Connectors.
- Click Add custom connector.
- Enter a name and the server URL. For us, the name is
one-by.oneand the URL ishttps://mcp.one-by.one/mcp. - If it asks for Authentication, choose Sign in now. If it asks for an OAuth client, choose Register automatically, which matches one-by.one’s dynamic client registration.
- Click Add.
- Finish the sign-in. Claude takes you to one-by.one’s sign-in page. Sign in with your one-by.one account, check the app name and permissions, and approve. The approval screen may say “Unverified app.” That is normal for a client we have not verified; just check it is the one you meant to connect.
- Turn it on in a chat: select + at the lower left of the message box, choose Connectors, and switch on one-by.one. The switch is per conversation.
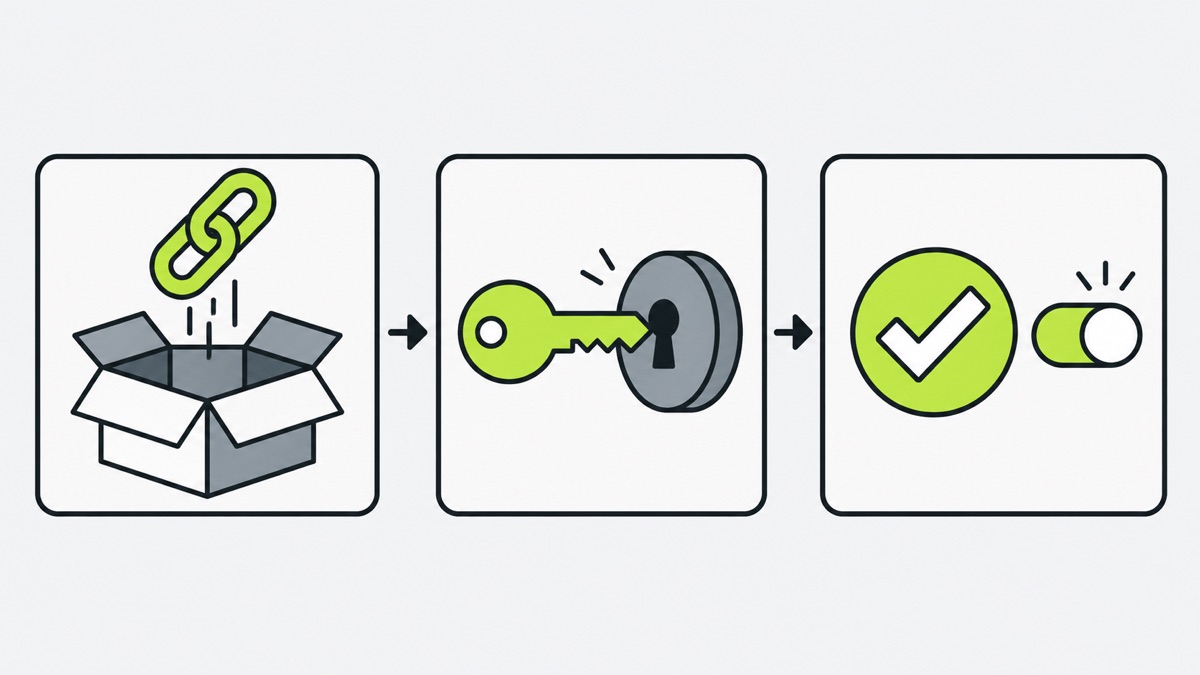
When Claude wants to use one of the connector’s tools it may ask first. Allow once is the cautious choice. Always allow skips the prompt for that tool from then on.
How to add a custom connector in Claude desktop
Claude Desktop uses the same Customize and Connectors screen as the web, so the steps above apply.
Team and Enterprise plans
On Team and Enterprise plans a member cannot add a custom connector. An Owner does it under Organization settings, then Connectors (Add, Custom, then Web if asked). On Enterprise, a custom role that manages the organization’s libraries can do it too. Each member then opens Customize, Connectors, finds the connector labeled Custom and clicks Connect.
How to add a custom connector in Claude app or mobile (iPhone and Android)
Add it on the web or in Claude Desktop first.
After that it should follow you. Anthropic says connected connectors are available in your conversations on web, desktop and mobile, and that the mobile app supports remote connectors. Its help article says a connector you set up on the web shows up the next time you log in on Claude for iOS or Android. Open a chat and look for the connector in the message box’s + menu.
Do not mix this up with the one-by.one app. The cards live in that app. The Claude connector is only how Claude sends plans to it.
Claude custom connectors on the free plan: how many can you add?
A Free account can add one custom connector. Claude itself costs nothing for this, but one-by.one is a subscription (the yearly plan has a 14-day free trial for eligible new subscribers), and AI connections need it. Existing data stays readable.
To swap connectors, go to Customize, Connectors, open the three-dot menu and select Remove, then add the new one. You can edit a connector’s name or URL, but not its authentication settings. To change those, remove the connector and add it again.
Claude custom connector OAuth: what the sign-in does
Most connectors use OAuth. You sign in to the service and grant permissions, and Anthropic says Claude never sees your password. one-by.one needs no API key or token. It asks for three permissions: context:read (the context you share for planning), activity:read (your plans and recorded activity) and activity:write (create or update plans and save activity). You can connect up to three AI apps to one account.
To disconnect, select the connector under Customize, Connectors and choose Disconnect, or tap Disconnect in Settings, AI apps in the iPhone app. This stops future access. It does not delete your one-by.one records or what the AI already received.
Common errors and how to fix them
- You cannot add a custom connector (Team or Enterprise). Ask an Owner to add it. Then connect it yourself from Customize, Connectors.
- You hit the limit (Free). Remove your existing custom connector, then add the new one.
- It times out or cannot reach the server. The server must be reachable from Anthropic’s cloud. Working from your own laptop is not enough. For one-by.one, check you typed the URL exactly, with
https://and/mcpat the end. - Sign-in fails or loops. Select the connector in Customize, Connectors, choose Disconnect, then connect again.
- “This corporate identity belongs to an Enterprise that manages access through their own Claude account.” Sign in to your organization’s Claude account, or contact your admin.
- It is connected but Claude does not use it. Turn it on in this chat under +, Connectors. Also check the connector’s tool permissions in Customize; a tool set to Blocked will not run.
- The row says Reconnect. Claude lost access. Select Reconnect and sign in again.
- Wrong authentication choice. It cannot be edited. Remove the connector and add it again.
- one-by.one refuses the connection. Three AI apps are already connected, so disconnect one. Or the subscription has lapsed, which makes AI connections return SUBSCRIPTION_REQUIRED. Or you do not have an account yet.
Before you trust any custom connector
Anthropic does not verify custom connectors. A remote server can give Claude tools that read, change or delete data. So connect only to organizations you trust, read the permissions on the approval screen, review tool requests, use Always allow only for servers you trust, and turn off connectors you are not using. Our privacy policy says what your AI receives from one-by.one.
Once it works, you can plan your day with Claude and send the plan to your iPhone.